
I can't believe that this week I am sharing two DIY projects with you! I think I had a bit of a blank for a few weeks and 2 have come along at once. Like buses some might say!!
This is a very simple project but I think we can all agree that the finished look is quite amazing.
I have really been enjoying looking for fake flowers recently. Not that I want to fill my home with them but I have had a few ideas for projects and using them as props in photos. This project required foam flowers. Now, you might wonder what they are and I did at first thinking; where do you buy them from? But after popping down to my local ' The Range' store I found them with the silk flowers, already made in to almost bridle hand ties for about £6. On reflection, I think they are there as a very cheap alternative for brides bouquets, but on this occasion they absolutely fitted the bill in being just what I needed. I felt foam flowers would be better as they are more robust and have a dense shape to them which you need in this project. I purchased a cardboard '&' from ebay, less than £4, and waited patiently for it to arrive to see if my planning had worked.

This is a really simple project, but you will make it hard for yourself in arranging the flowers, then rearranging them. Best to work in little sections at a time and build up.

First you need to very carefully cut the top of the cardboard shape off. This you do my slowy inserting your Stanley knife and cutting at the very edge of the shape. The card should come right off.

You will then see the filler card, I left mine in but actually ended up cutting it out halfway through, so I would just remove it.
I got 2 bouquets around £6 each with a variety of antique pinks and creams. I used most of both of them; about 20 heads.
Cut your flowers' heads off trying to not leave any wire at the base. It is actually easier to leave about 1cm of the stalk on and then bend it into the flower head. Then simply put glue on the bottom and press the flower in.

Not every head will fill the gap so bunch a few heads together filling as you go.
Fill up the whole shape and leave to set.

I have then used some wide mouldable fairy lights and just wrapped them between the flowers so it can give a nice soft glow in the evening.
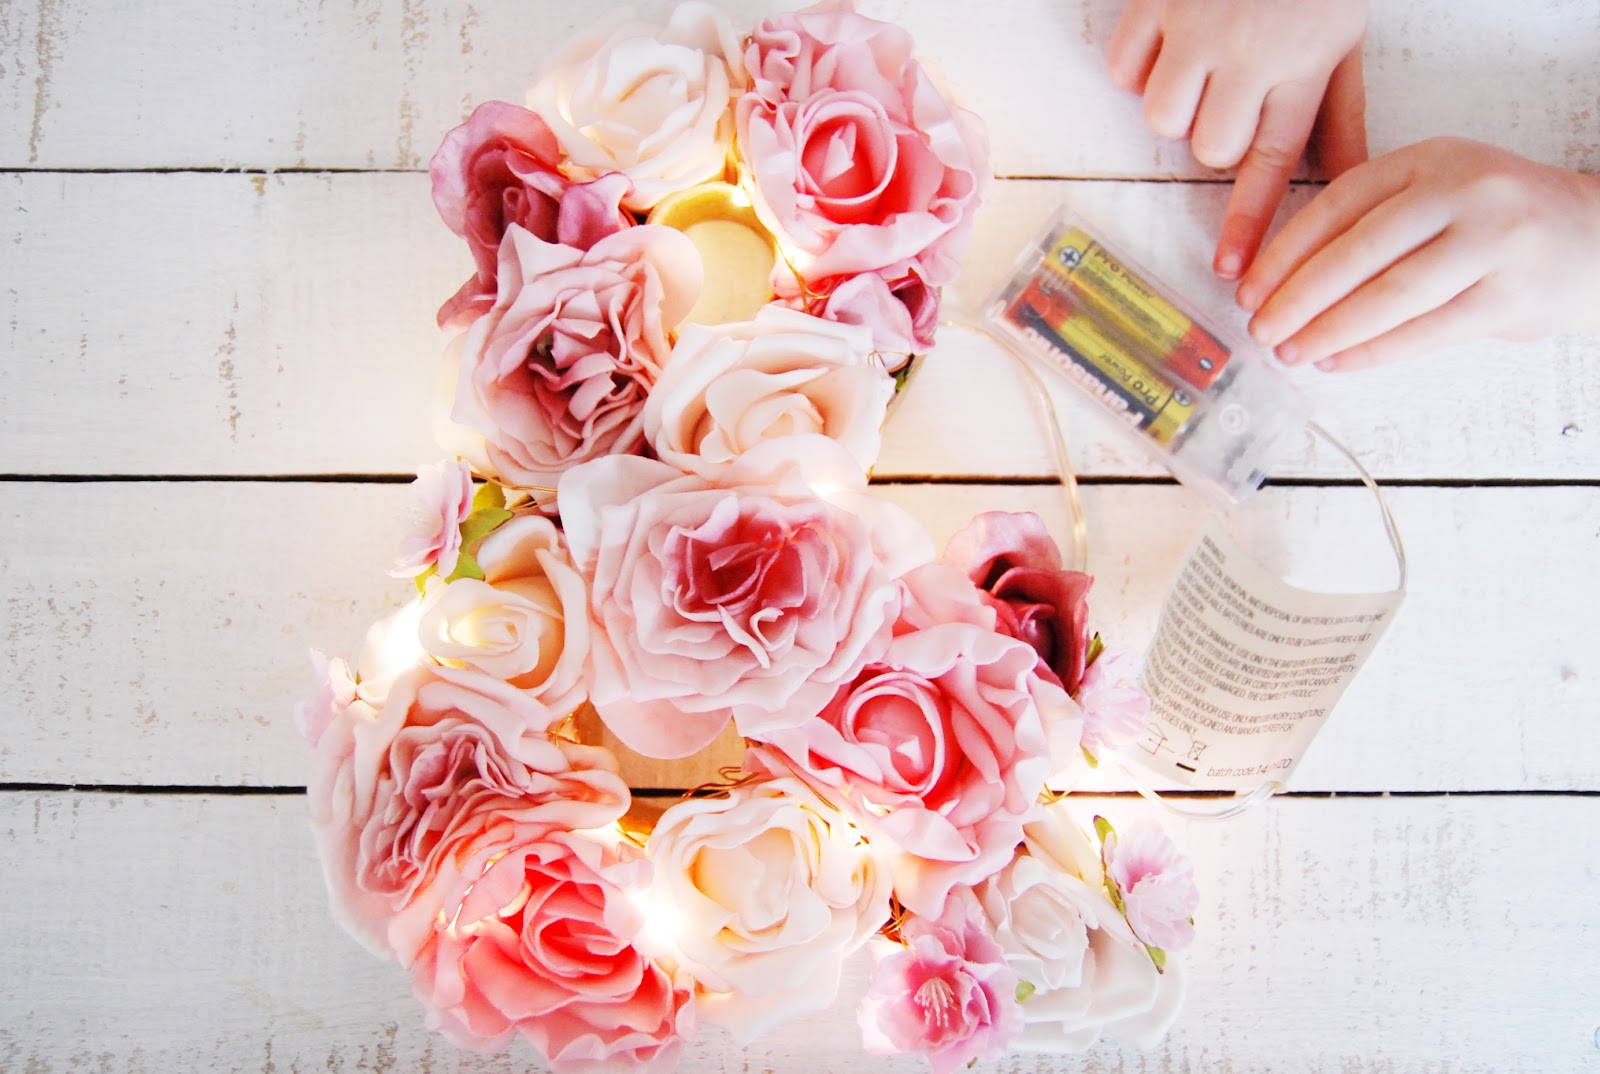
I am really pleased with how this '&' looks but I think letters will be much clearer. I am really tempted to start on an 'E' and 'R' but once I start I know there will be no stopping!


This idea is perfect for parties though, especially weddings!!
Enjoy trying it out and if you do, try and tag me in your pictures so I can see!
Emily
No comments
Post a Comment